On this page we will look at the following:
Update page, import process of models to GH is different then one described below
- Where to download and use GLASSHOUSE plugins for Revit and Archicad
- How to import your model into GLASSHOUSE
- How to set up your model
- How to apply groups and filters
- How to apply measurement rules in GLASSHOUSE
Guide to downloading and using the GLASSHOUSE plugin
There are plugins for both Archicad and Revit. You can read more about how to download the plugin and how to apply it here:
- GLASSHOUSE Archicad plugin – Guide
- GLASSHOUSE Revit plugin
If you have other software that you would like a plugin developed for, we would like to hear from you. you can contact us at hello@glasshousebim.com.
Import your model to Glashouse
Once you have followed the above ‘Guide to downloading and using the Glashouse plugin’ the model that has been uploaded can be viewed on the ‘Models’ page. This is located as the drop-down menu under ‘Project Settings’ in the top menu.

If there is no model uploaded you will be greeted by a short explanation of the page’s function. here it will also be possible to import your model
The page shows that it is possible to upload several models that are relevant to your project. Glasshouse allows you to have several models in the same project. There can be many reasons for doing this. Some examples are:
- It is a large project that is split into several smaller models.
There can be many reasons for this, e.g. the computer cannot keep up, or you share sections between project members. - You have divided your project by subject. I.e. you have a model for Electrical, Construction, Architecture, Plumbing and Ventilation etc.
In Glasshouse we call it ‘Teams‘. Here in Glasshouse you have the ability to look across models to ensure consistency between models.
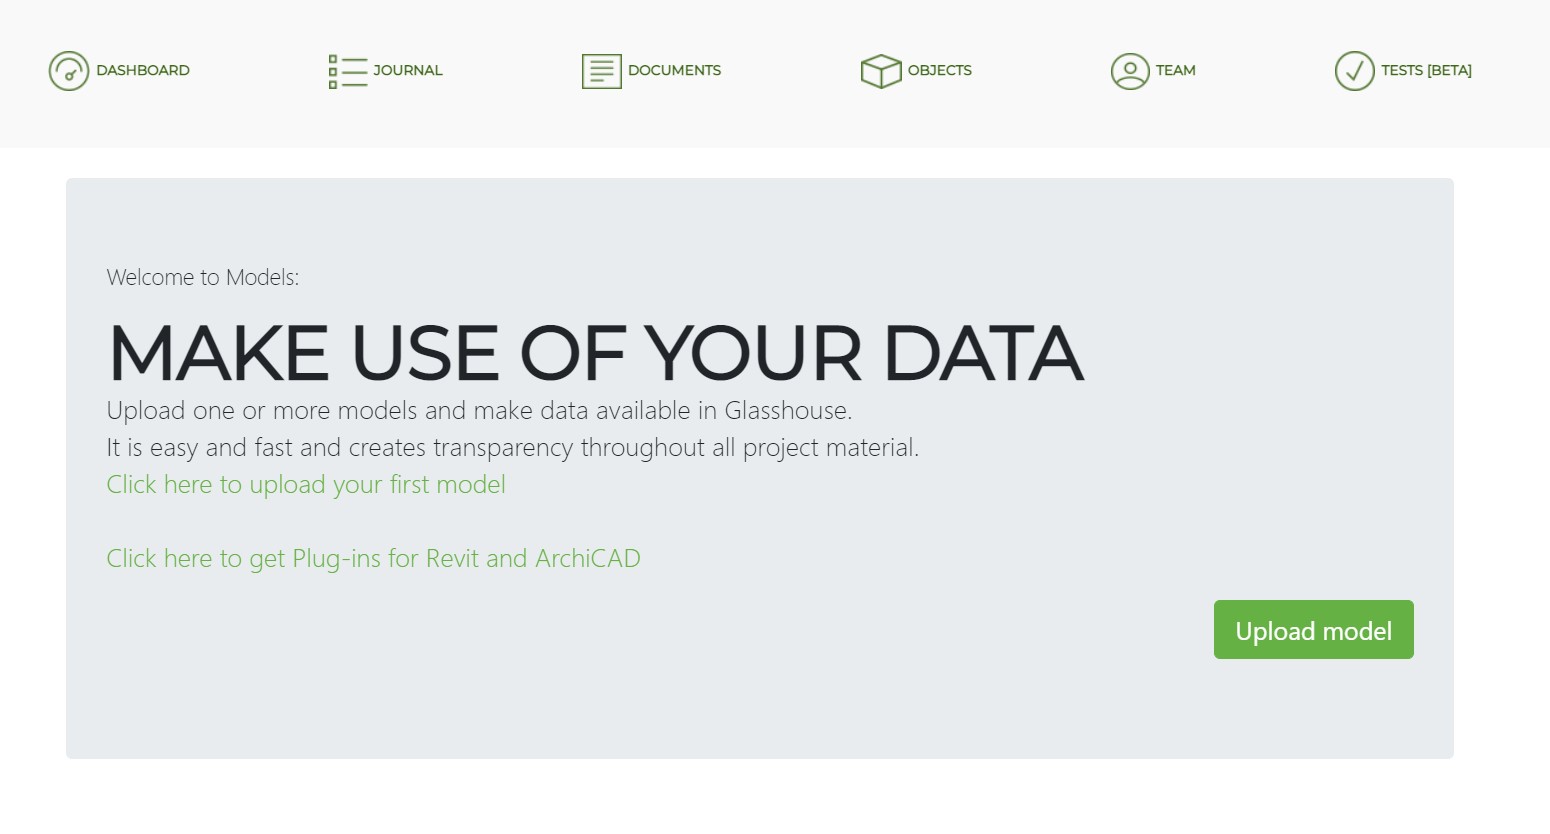
To start uploading your model, click on ‘Upload model‘ and you will hit the upload model page, as shown below. Here you fill in:
- Model name
Here you give the model an optional name - Description
(Optional) Here you have the option to write a short description of the model. - S3 file key
Here you click on “Choose file” and browse through the Explorer to find your exported model.
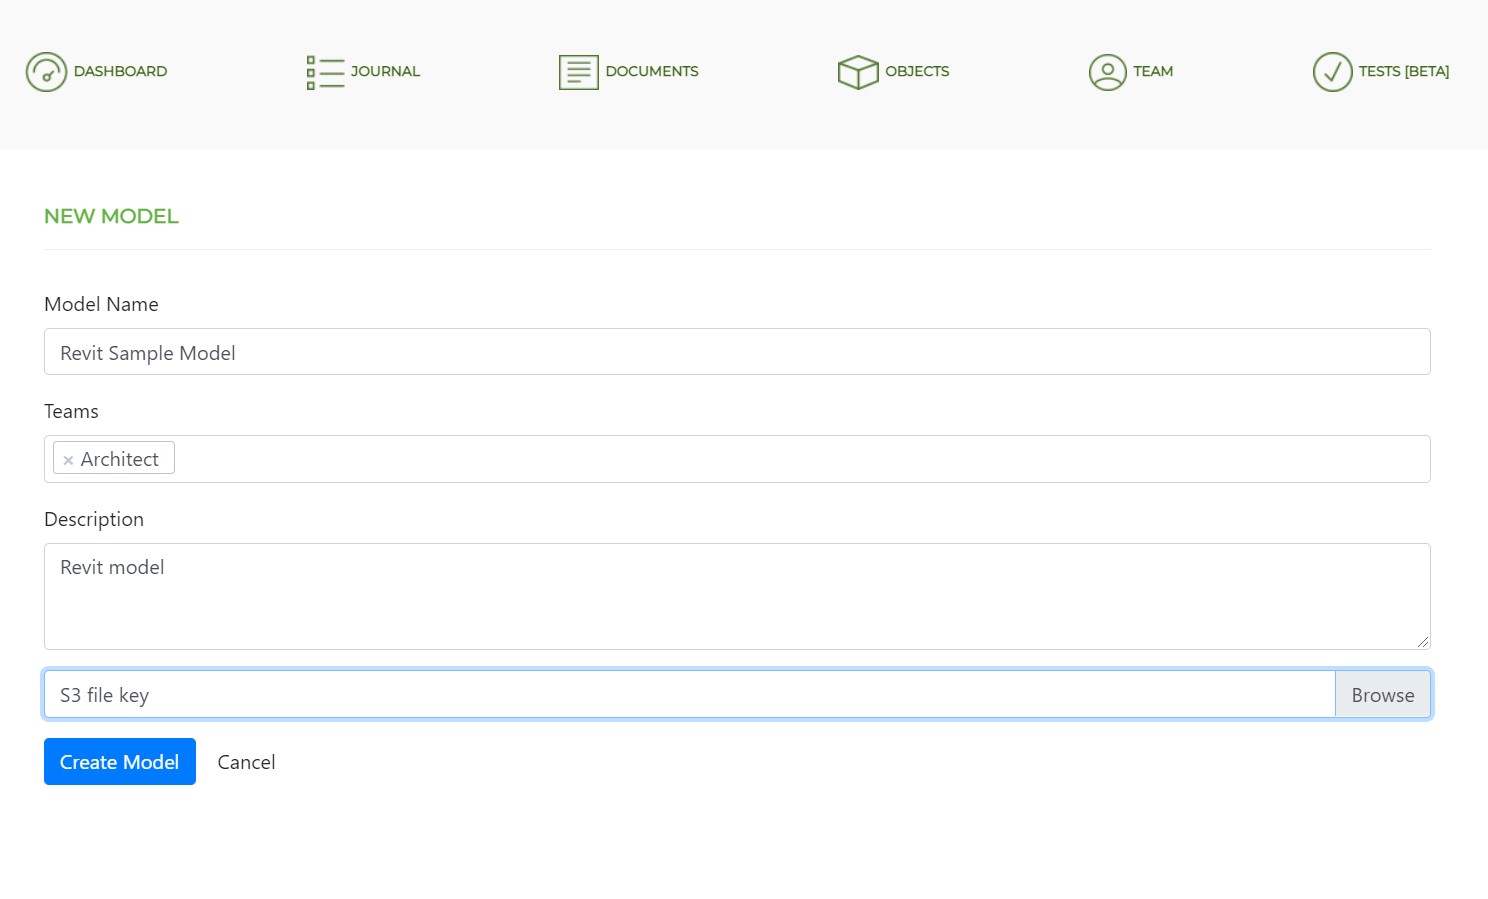
After pressing ‘Create model’ Glasshouse starts processing the model.
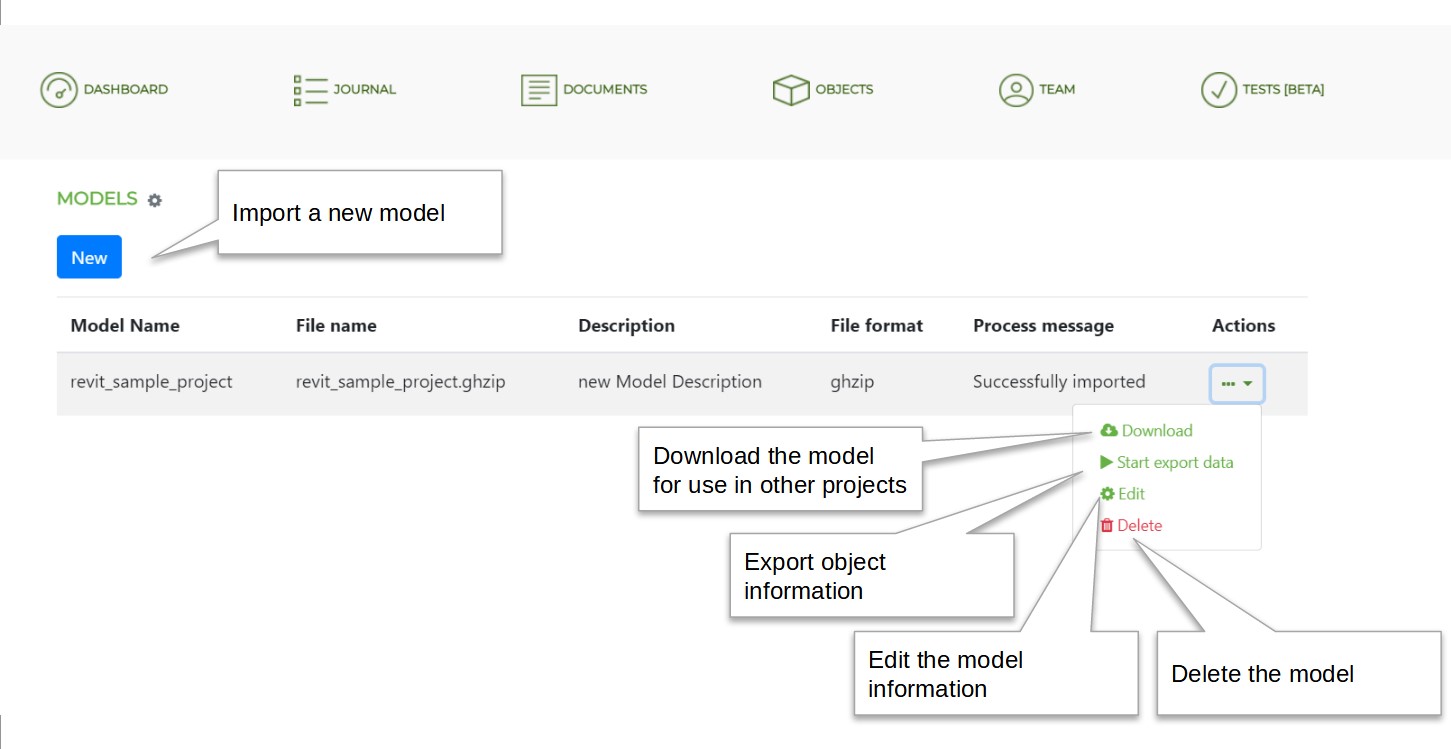
Once one or more models have been uploaded to Glasshouse, they can be viewed on the ‘Models‘ page.
Get an overview of your model
Now that the model is imported into Glasshouse, you can see which objects are in the model under ‘Objects’ in the navigation menu
but as there are differences in how you build a model in different modelling programs, Glasshouse needs to know how to sort and group the model.
The first time you access the ‘Objects‘ page you will be greeted by a brief explanation and an option to create your first group.

By clicking ‘create your groups’ you have the possibility to specify how Glasshouse should sort. as a starting point, sorting is done in properties. it is therefore possible to choose the type coding system used in the project if this is added. Below are the default main properties used in Revit and Archicad respectively.
Properties for Revit:
- Type name
shows the name of the type of building element the group contains - Family name
shows the name of the parent family the group contains - Category
shows which category the group contains
Properties for Archicad
- -elementType
shows which category the group contains - -Name
shows the name of the type of building element the group contains
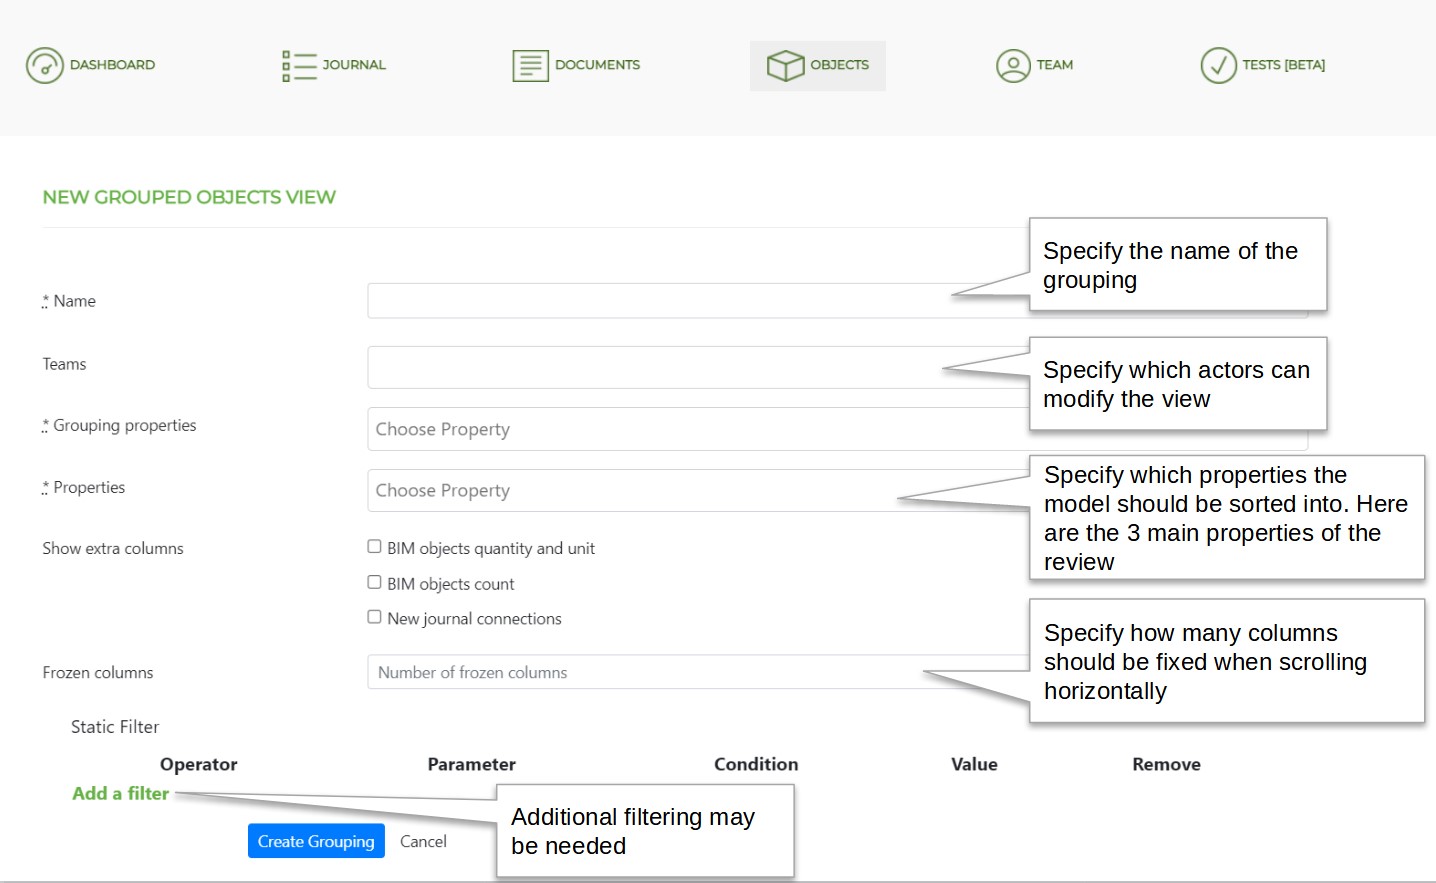
By clicking ‘Create grouping’ the objects of the model are sorted in the selected properties. It is possible to search for specific objects and to create more sorting views if needed.

Create measurement rules for your objects
In Glasshouse, you have the option to create measurement rules based on a property in your BIM model. As a starting point, Glasshouse makes a quantified offer on how your project groups should be measured. If you want to create your own measurement rules or you want to use our default setup, follow the Measurement Rules wizard:
- Guide to setting up measurement rules
Click your way back to the previous step: Step 4: Create and work with your descriptions
Click through to the next step: Step 6: Link to tilbudslister.dk