Download GLASSHOUSE Revit plugin
On this page we will look at the following:
– Where to download the plugin
– How to install the plugin
– How to set up the plugin
– How to use the plugin
You can download the Revit plugin by clicking on the following link:
It is recommended to download the latest release

Installer GLASSHOUSE Revit plugin
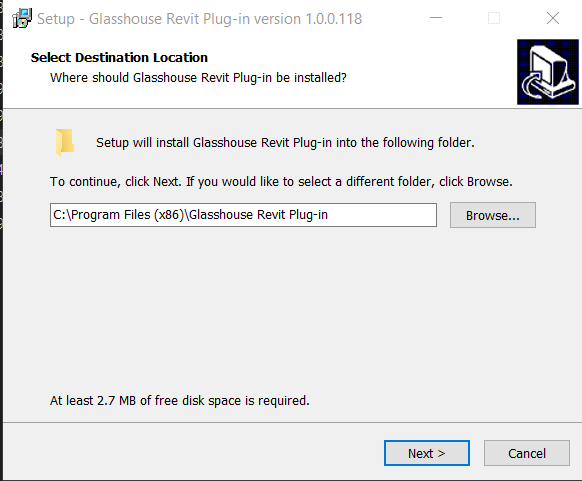
- Once the download is completed double click the .exe file, click yes to allow app to make changes on device.
Select where app is to be installed, or leave as default, click next
- Select revit versions you wish to install and click next.
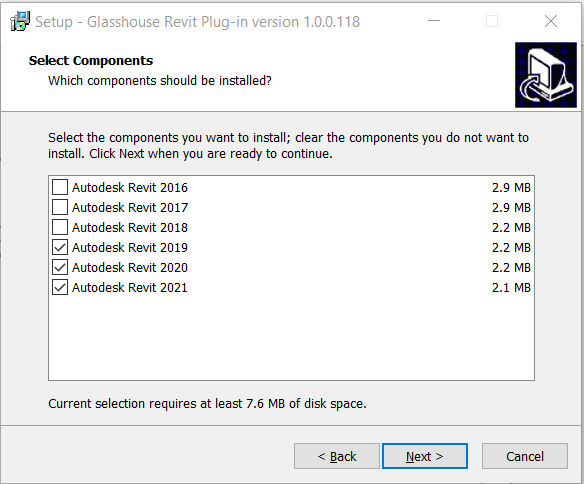
- Lastly, click install, once installation is complete click finish.
Revit Plugin
You have now installed the GLASSHOUSE plugin for Revit
Once you have followed the installation instructions above, there will be a GLASSHOUSE tab in the Revit ribbon bar. Here we will start configuring the plugin so that it can communicate with the GLASSHOUSE website.
When first launching revit after installation a certificate will display, click always load, this way the plug-in will function correctly.

Glasshouse toolbar.
In the following section we will review the basic functionalities of the GLASSHOUSE tool bar.
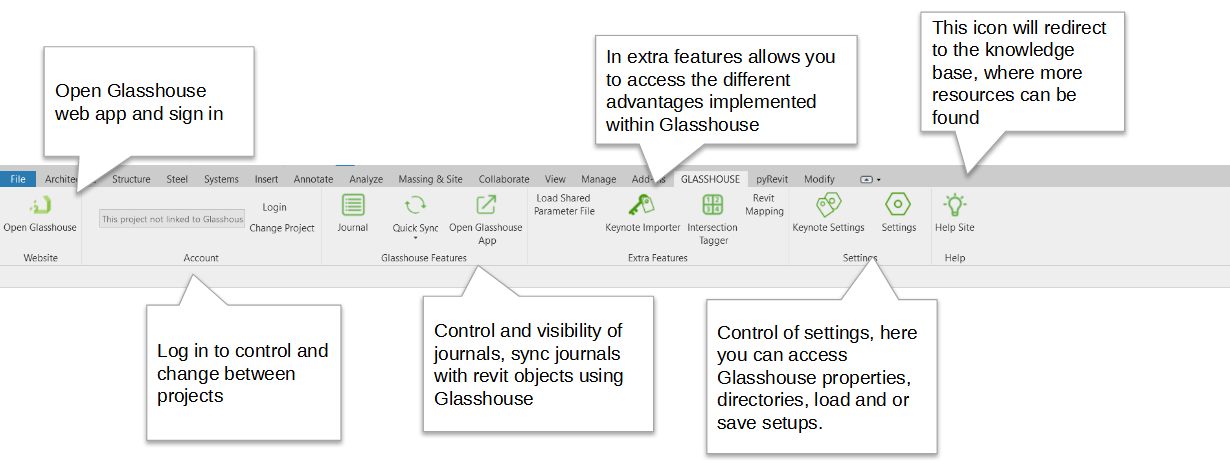
When hovering over each icon, a description of what the command does will display
Configuring Glasshouse settings.
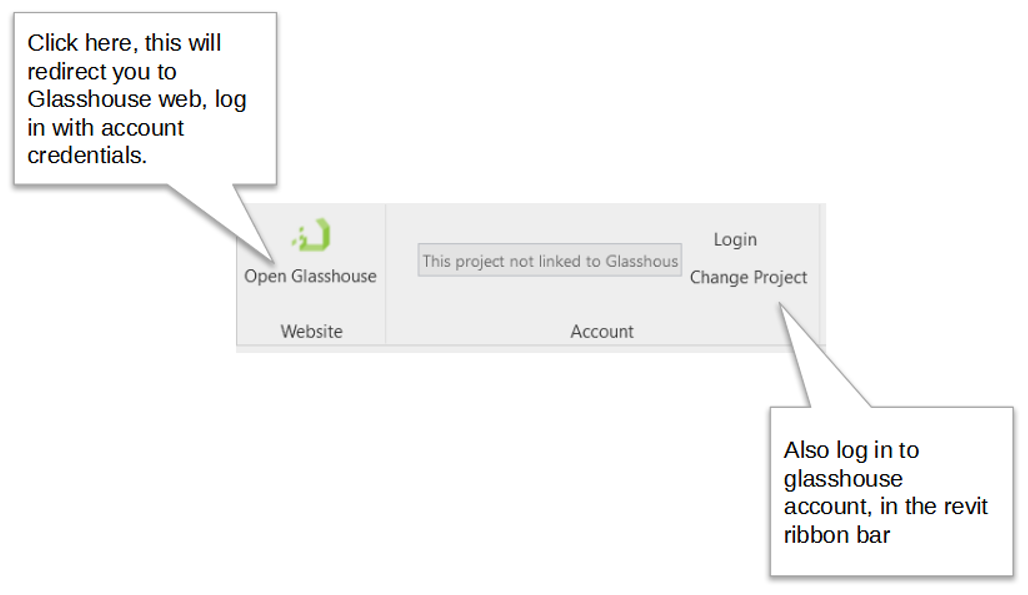
First make sure to sign in with your GLASSHOUSE account to the web app, and in the Revit ribbon bar.
After logging in the projects that have been created in the GLASSHOUSE web app will now display. Now you can link Revit models to GLASSHOUSE
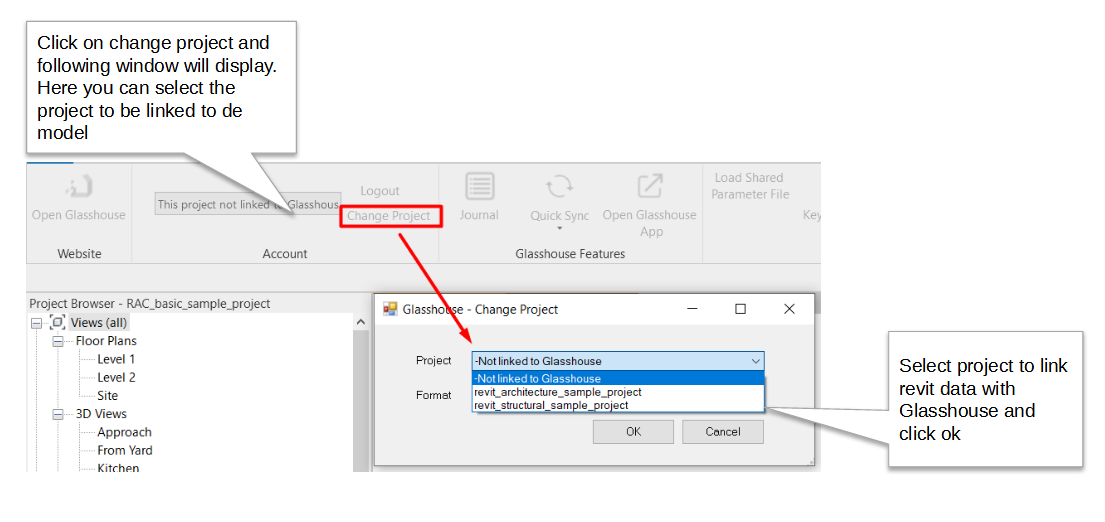
Projects created in glasshouse web app will display in drop-down menu, make sure these have been created first.
The link below will guide on how to create projects inside GLASSHOUSE web app.
After linking the project correctly, you can continue to modify the settings. Settings can be customized by categories or by different 3D views. Also you can load and or save setups
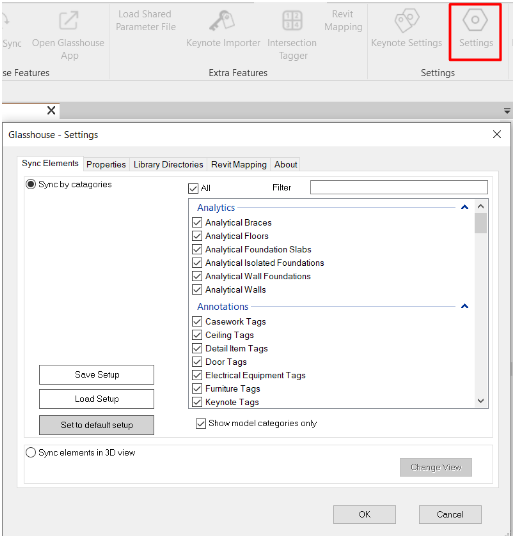
For the purpose of this procedure we will select all categories and click ok
Once we configure the settings as need it, we can begin to sync the data from our model with the GLASSHOUSE web app
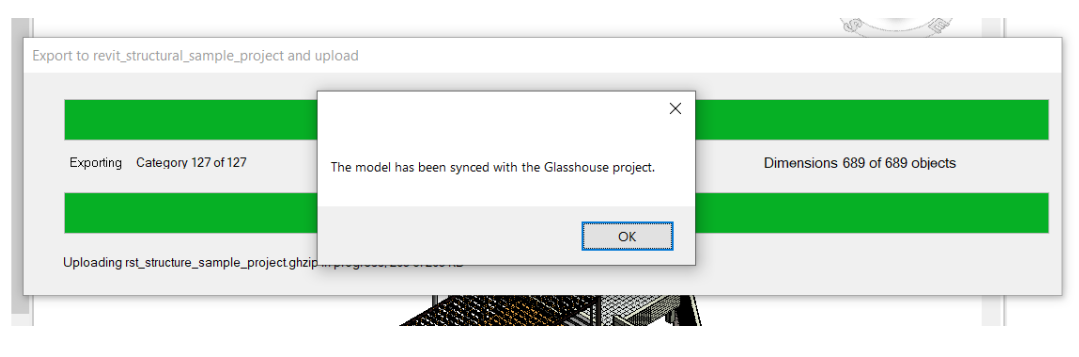
In GLASSHOUSE toolbar click the button Quick Sync, the loading toolbar will display, wait until procedure is completed, this can take a few minutes, depending on the amount of elements.

Once the process is completed a message will display saying “The model has been synced with the Glasshouse project” as shown in the following image, click ok.
You have now uploaded the model to the GLASSHOUSE web app and can start working with ‘Objects’. The BIM objects that were created in revit are now visible in the GLASSHOUSE web app, we can now begin to add information, manipulate the data back and forth from revit and GLASSHOUSE